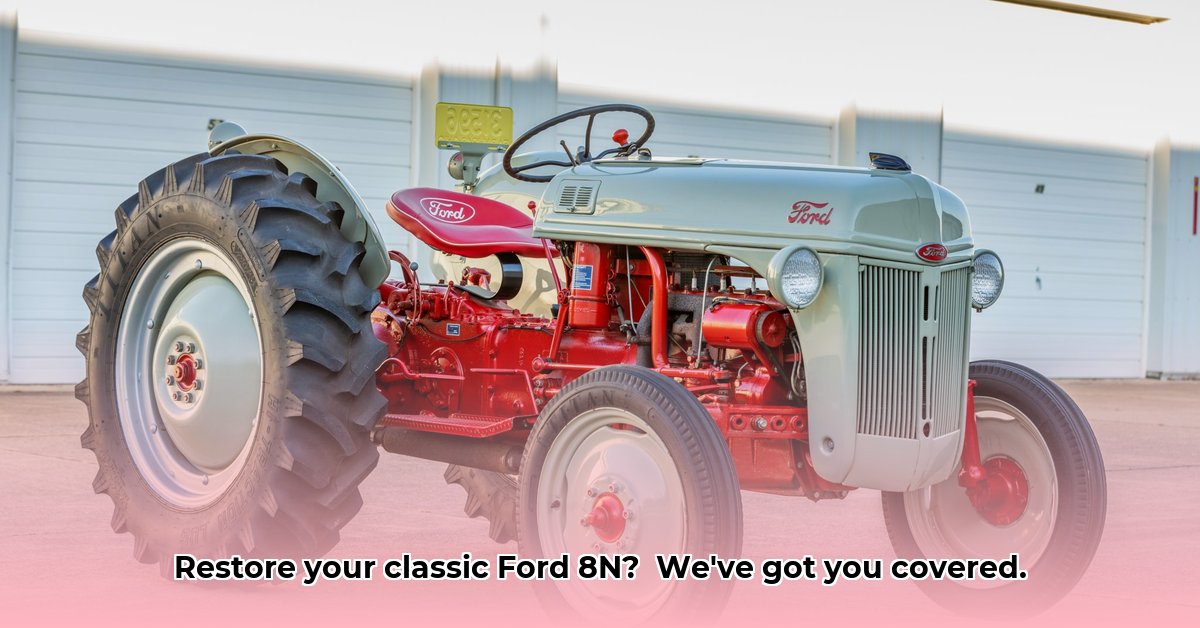
8N Ford Tractor: Your Complete Restoration Guide
Ready to breathe new life into your classic Ford 8N tractor? This comprehensive guide covers everything from identification and parts sourcing to engine rebuilds and cosmetic restoration. We'll equip you with the knowledge and steps needed, regardless of your experience level. Let's get started! For detailed specifications, check out this helpful resource: 8N Tractor Specs.
Unlocking the Secrets of Your 8N: Identification and Dating
Before you begin any restoration work, accurately identifying your Ford 8N tractor's year and model is crucial. This will guide your parts sourcing and restoration approach. The key is the serial number, typically stamped on the right side of the transmission housing. This unique identifier reveals your tractor's “birth date” and specific features. Numerous online resources and dedicated Ford 8N communities are invaluable for decoding this crucial information. Understanding the nuances of different production years is essential – early models sometimes have unique electrical systems or other variations compared to later versions.
The Great Parts Hunt: Sourcing the Right Components
Finding the correct parts for your 8N restoration is a crucial step. Original parts are ideal, offering a guaranteed fit and typically superior quality, but they're often scarce and expensive. Reproduction parts offer a more affordable alternative, but quality can vary significantly. Thoroughly research suppliers to ensure you're getting high-quality replacements or accurate copies.
Where to find parts? Online marketplaces, specialized Ford 8N parts suppliers, local salvage yards, and tractor shows are all excellent starting points. Remember to always verify compatibility before purchasing any part to avoid costly mistakes. A little research upfront can save significant time and money later on.
A Step-by-Step Restoration: From Rusty Relic to Shining Star
Restoring your Ford 8N is a rewarding process, but requires patience and attention to detail. Let's break it down into manageable stages:
1. Engine Revival (Estimated Time: 20-40 hours)
- Disassembly: Methodically disassemble the engine, meticulously documenting each step with photographs or detailed notes. Consider video recording the process for easier reassembly.
- Inspection: Carefully inspect each component for wear and tear, noting any cracks, scoring, or excessive wear. Address these issues early to avoid larger, more expensive problems later.
- Parts Replacement: Replace worn or damaged parts with high-quality replacements. Options include original parts, reputable reproduction parts, or meticulously inspected used parts.
- Reassembly: Carefully reassemble the engine, referring to your documentation and possibly a repair manual.
2. Transmission Tune-Up (Estimated Time: 15-30 hours)
- Fluid Drain: Begin by draining the old transmission fluid. This is important to assess its condition and prevent contamination of new fluid.
- Careful Removal: Carefully remove the transmission; this is often a challenging step, requiring the correct tools and patience.
- Thorough Inspection: Clean and meticulously inspect all gears, bearings, and seals for wear and tear.
- Replace As Needed: Replace worn or damaged components, seals, and gaskets with new ones. This ensures a leak-free and reliable transmission.
- Reassembly: Reassemble the transmission, reversing the disassembly steps. Your detailed notes or videos are invaluable here.
3. Cosmetic Enhancement: Bringing Back the Shine (Estimated Time: 10-30 hours)
- Deep Clean: Start with a thorough cleaning, using appropriate degreasers and solvents to remove dirt, grime, and rust. A pressure washer can assist, but use caution around sensitive parts.
- Rust Repair:Address any rust damage: wire brushing, sanding, or rust converters may be necessary.
- Prep Work: Sand and prime the surfaces to ensure a smooth and even finish for the paint.
- Paint Perfection: Apply paint matching your tractor's original color, using multiple thin coats for a professional look. Research historical records to ensure color accuracy.
Maintaining Your Restored Pride and Joy: Ongoing Care
Regular maintenance is essential for keeping your restored 8N in top condition. Schedule routine oil changes, filter replacements, and fluid checks. Pay particular attention to potential trouble areas like the carburetor, electrical system, and fuel system. Utilize online forums and repair manuals for guidance and troubleshooting.
Safety First: Working Smart, Not Hard
Working on a tractor involves inherent risks. Always disconnect the battery before working on electrical components. Wear appropriate safety gear (glasses, gloves, sturdy footwear). Never work under the tractor without secure jack stands. Prioritize safety throughout the restoration process.
Weighing the Pros and Cons of Restoring a Ford 8N
| Pros | Cons |
|---|---|
| Immense personal satisfaction and pride | Significant time investment |
| Increased value and collectibility | Potentially high costs, especially for original parts |
| Deep dive into a fascinating piece of history | Requires mechanical aptitude and problem-solving skills |
| A beautifully restored, functional tractor | Finding comprehensive information can be challenging |
Remember, restoring an 8N Ford tractor is a marathon, not a sprint. Enjoy the journey, and the final result will be a machine you'll cherish for years to come.